Home > Blog > How to Install Raw Hair Bundles
How to Install Raw Hair Bundles
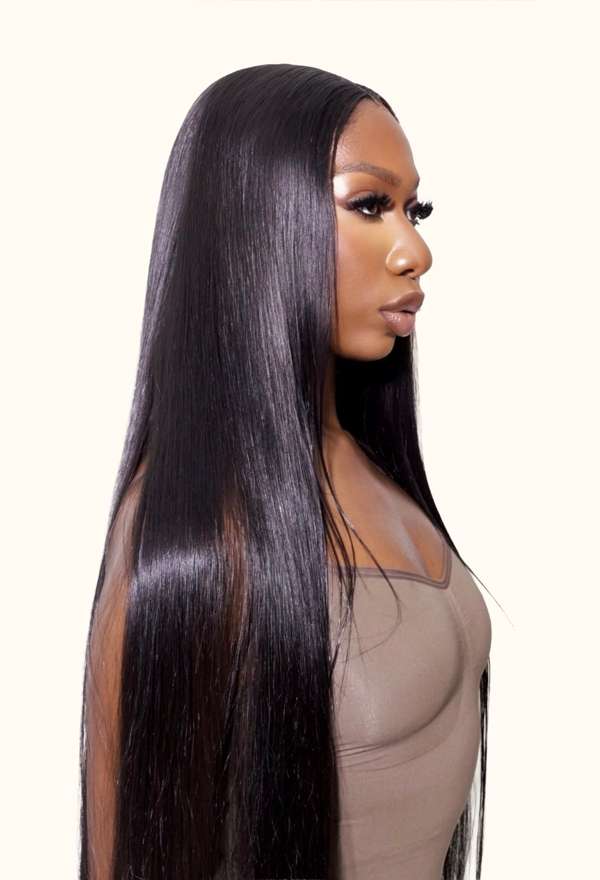
A good install starts before the first bundle goes in. Prep, braiding and blending matter as much as the hair itself, and rushing any of them is how installs end up lumpy, tight or short-lived.
Prep the hair first
Wash and fully dry the bundles before install, and detangle them gently from ends to roots. If you are using a closure or frontal, check the lace and the parting before you start, not halfway through, so you know exactly where the part will sit.
Braid a flat foundation
Braid your natural hair flat and even, in a pattern that follows your parting. A flat foundation is what makes the install lie flat and last. Braids that are too tight pull at your edges, so if it hurts, it is too tight, and your stylist should loosen it.
Sew, don't overfill
Sew the wefts on in rows, following your bundle plan. For most installs, 12 to 14 inch hair needs 2 or more bundles, 16 to 24 inch hair needs 3 or more, and 26 to 34 inch hair needs 4 or more. Leave enough room at the top for your closure or frontal, and do not stack wefts so thick that the install bulges.
Blend and finish
Blend your leave-out, if you have any, with the bundles, using heat only where you need it and a heat protectant first. If you are using a lace piece, melt the lace, trim it carefully, and style the edges last, not first. A finished install should move naturally, not sit like a helmet.
Shop Straight, Wavy, Curly, HD Lace Closures and HD Lace Frontals at MK's Hair Bar, all listed as in stock.